How to install WordPress in cPanel
WordPress is a free and open-source content management system that lets you create a website, whether it be a blog for tutorials or an ecommerce website to sell your homemade products!
There are thousands of themes and plugins available. For those that are not familiar with HTML and CSS, there are Website Builder Tools that make creating a website very easy through a graphical interface.
In this article, we will show you how to install WordPress using cPanel.
Step 1: Log in to your cPanel account
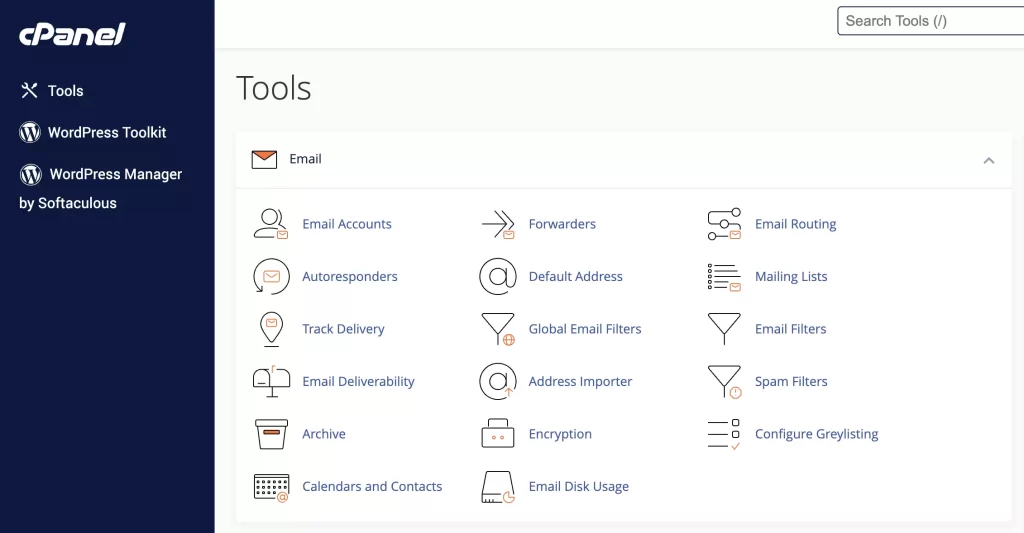
On the left panel, you will see WordPress Toolkit and WordPress Manager by Softaculous. In this tutorial, we will use WordPress Tool Kit. If you do not need either of these on the left-hand side, you may use the “Search Tools” by typing “WordPress Toolkit”.
Step 2: Initial setup and configuration of WordPress
Prior to the installation taking place, you need to configure the URL where your website will be installed, the name of your website, the language, and most importantly set your admin username and password.
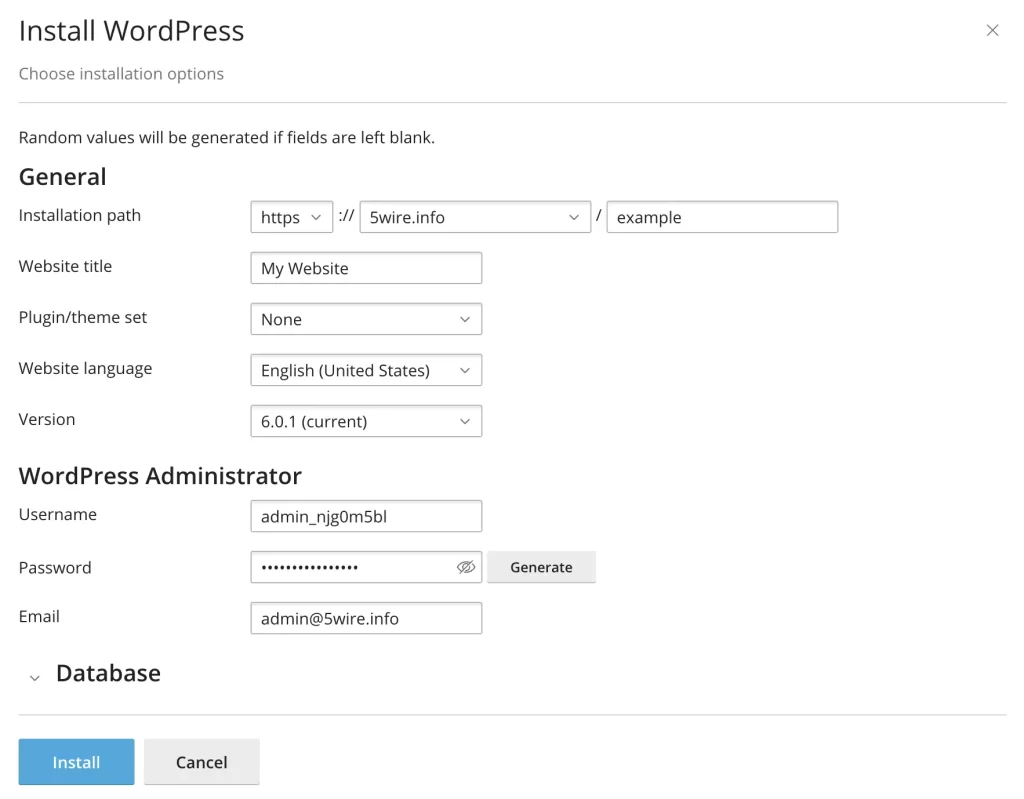
Recommendation: We advise NOT to use “admin” as the username to manage and control your website. This is the most commonly brute-forced username.
Step 3: Install WordPress
Once you have completed all the fields, you are ready to go!
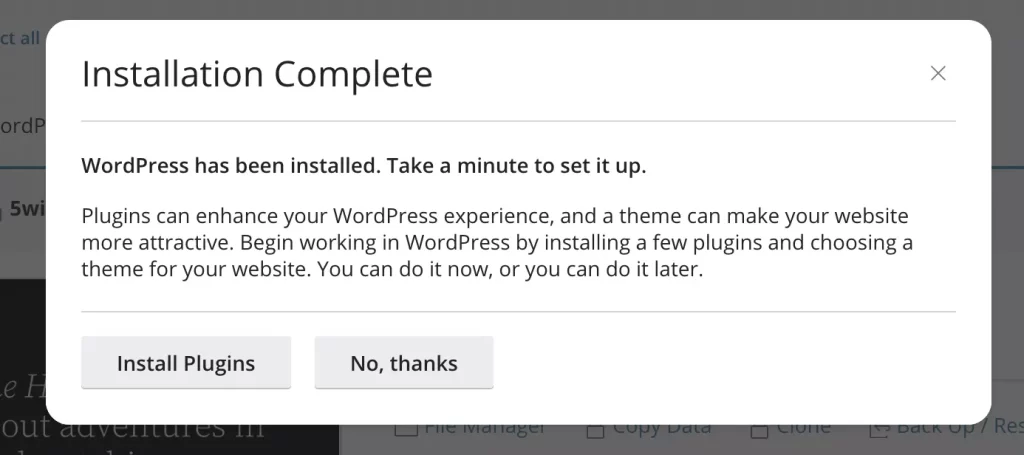
Click Install. A progress bar will pop up to notify once the installation is completed.
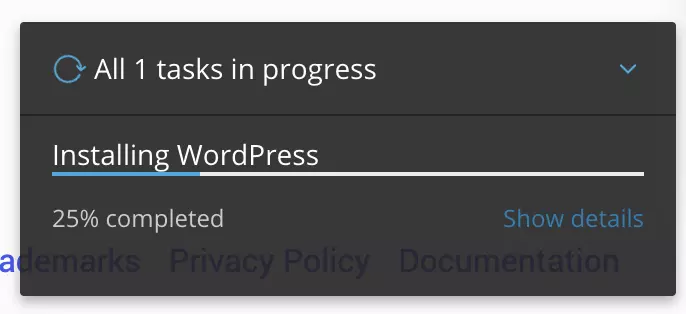
Once the installation is complete, you will see the following.
Step 4: You are ready to go
You will see the following page under the WordPress ToolKit once the installation has successfully completed. The other aspects we will cover in a separate tutorial.
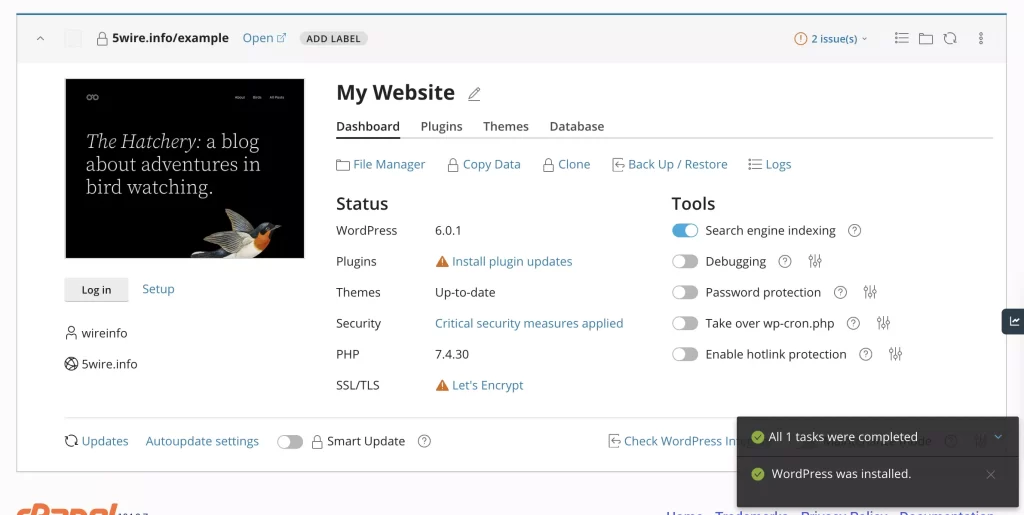
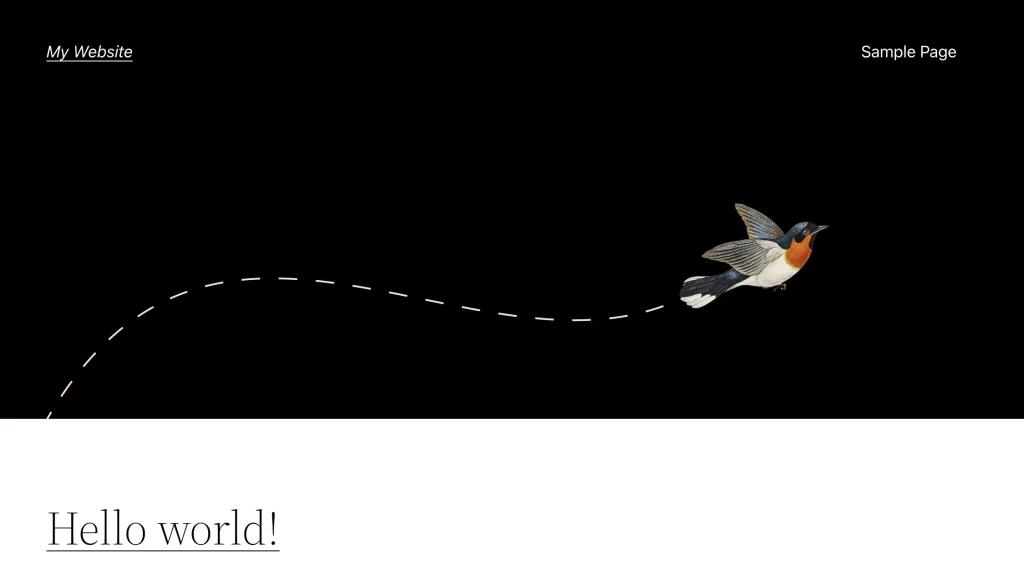
Now, you can go to the website URL (Installation Path) that you set in Step 2 to see your website live.
